Simple Decal Installation Instructions
A decal arrives with three layers: the backing paper at the bottom, the decal itself in the middle and the application mask (transfer tape) on top.
Always make sure you have a dry place and no wind to install your decal.
Detailed steps on installing your decal

Step 1. Clean the surface 
2. Prepare decal 
3. Peel 
4. Apply 
5. Remove
Step 1. Clean the surface
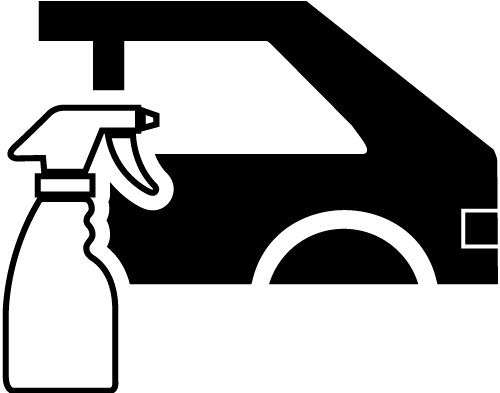
Clean the window or surface you are applying the decal to with a mild detergent. Warm soapy water works well. Allow the surface to dry.
Step 2. Prepare decal
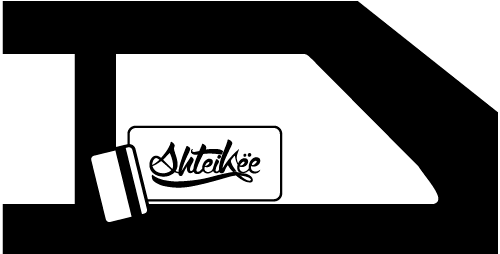
Apply pressure across the decal using a squeegee or a credit card. This removes any air bubbles that may have formed and makes the decal cling to the transfer tape.
Step 3. Peel
Peel off the paper backing from the decal. Only the vinyl and the clear transfer layer should remain.
Step 4. Apply
Slowly position the decal onto the window or surface where you want to place it. Rub it in place with a squeegee or a credit card.
Step 5. Remove
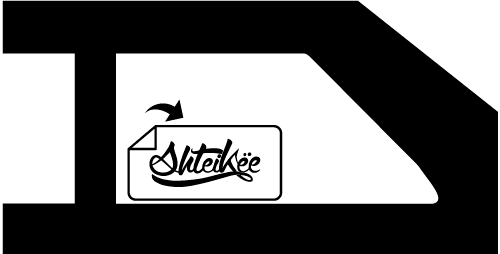
Slowly peel the clear transfer layer by peeling it off at an angle, starting from a corner. Only the vinyl decal should now remain.
Step 6. Enjoy!
That’s it, enjoy your decal! 🙂
A few more tips
The recommended optimum surface temperature for installing a decal is 70°F (21°C). While your decal will resist in very cold temperatures, the installation requires the surface to be warm for the adhesive to make a good initial bond. For best results, do not apply a sticker in extremely hot or cold temperatures.
Small bubbles can be squeegeed to the edge of the decal. For larger bubbles you may use a pin or needle to poke them and then push the air out through the hole.
Feel free to contact us if you have any questions or if you need any help with installing your decal. We will be happy to assist you.


